Introduction
Are you tired of the constant noise every time someone opens or closes a door in your home? Whether it’s the kids running in and out, or the creaking of an old door, the noise can become a real nuisance. Thankfully, there’s a simple and effective solution—door silencers. In this guide, we’ll explore how to install door silencers to help you achieve a quieter, more peaceful home environment. From understanding what door silencers are to step-by-step installation instructions, we’ve got you covered.
Table of Contents
Understanding Door Silencers
Before diving into the installation process, it’s essential to understand what door silencers are. Essentially, door silencers are small devices designed to cushion the impact of a door when it closes, reducing the noise created by the contact between the door and the frame.
What Are Door Silencers Made Of?
Door silencers are typically made from materials like rubber, metal, or magnetic components. Each material offers unique benefits, making it important to choose the right type for your specific needs.
Types of Door Silencers
- Rubber Silencers: These are the most common type, offering a soft cushion that effectively reduces noise.
- Metal Silencers: Ideal for heavy-duty doors, these silencers are durable and offer long-lasting noise reduction.
- Magnetic Silencers: These are often used in conjunction with other types of silencers to enhance the noise-reducing effect.
Benefits of Installing Door Silencers
Installing door silencers isn’t just about noise reduction. Here are a few additional benefits:
- Noise Reduction: The primary benefit, door silencers significantly decrease the sound of doors closing.
- Protecting Door Frames: Silencers reduce the impact on door frames, preventing damage and prolonging their life.
- Enhancing Privacy: By minimizing noise, door silencers can help maintain privacy within your home.
- Prolonging Door and Frame Life: Less impact means less wear and tear, extending the life of both the door and the frame.
Tools and Materials Required for Installing Door Silencers
To install door silencers, you’ll need a few basic tools and materials:
Essential Tools
- Measuring tape
- Screwdriver or drill
- Pencil or marker
- Level
Recommended Materials
- Rubber, metal, or magnetic door silencers
- Screws or adhesive (depending on the type of silencer)
- Cleaning supplies (for pre-installation preparation)
Optional Tools for Added Convenience
- Power drill with various bits
- Adhesive remover (if replacing old silencers)
Pre-Installation Considerations
Before you start, there are a few things to consider:
Measuring the Door
Accurate measurements ensure that your silencers are placed correctly and function as intended.
Choosing the Right Type of Door Silencer
Based on your door’s material and your noise reduction needs, select the appropriate type of silencer.
Checking Door Alignment
Ensure your door is properly aligned. A misaligned door can reduce the effectiveness of silencers and may require additional adjustments.
Step-by-Step Guide to Installing Door Silencers
Now, let’s get into the nitty-gritty of installing door silencers. Here’s how to do it:
Step 1: Prepare the Door and Frame
Start by cleaning the door and frame to remove any dust, dirt, or grease. This helps the silencers adhere better. Once clean, use a pencil or marker to mark where you’ll place the silencers.
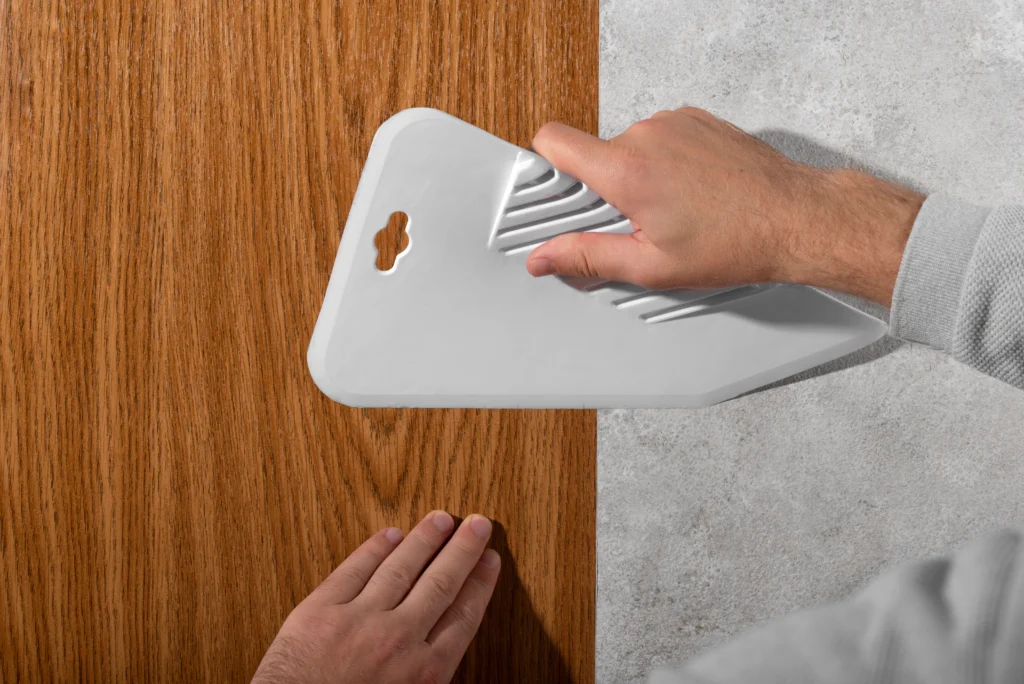
Step 2: Installing Rubber Door Silencers
If you’re using rubber silencers:
- Position the silencers on the door frame where the door makes contact.
- If they’re adhesive-backed, simply peel and stick them in place. For screw-on types, use a screwdriver or drill to secure them.
Step 3: Installing Metal Door Silencers
For metal silencers:
- Mark the screw holes on the door frame.
- Drill pilot holes if necessary, then attach the silencers using screws.
Step 4: Installing Magnetic Door Silencers
When installing magnetic silencers:
- Position the magnetic plate on the door frame.
- Align the corresponding magnet on the door so that they meet perfectly when the door closes.
Post-Installation Tips
After installing the silencers, it’s important to test the door to ensure it closes quietly and smoothly.
Testing the Door’s Noise Reduction
Open and close the door a few times to check the noise level. If the door is still noisy, you may need to adjust the silencers.
Adjusting the Silencers for Optimal Performance
Make small adjustments to the position of the silencers if necessary. Sometimes, even a slight shift can make a big difference.
Regular Maintenance
Keep the silencers clean and check periodically to ensure they haven’t shifted out of place.
Common Mistakes to Avoid
Even though installing door silencers is a straightforward task, there are some common mistakes to avoid:
Incorrect Placement of Silencers
Ensure that the silencers are placed exactly where the door makes contact with the frame. Incorrect placement can render them ineffective.
Over-Tightening Screws
If you’re using screw-on silencers, be careful not to over-tighten the screws, as this can damage the door frame.
Ignoring Door Alignment
Before installing, check that the door is aligned properly. Misalignment can reduce the silencer’s effectiveness and cause the door to close unevenly.
Troubleshooting Issues
Sometimes, issues may arise after installation. Here’s how to troubleshoot them:
Door Still Making Noise After Installation
If your door still makes noise, double-check the placement and alignment of the silencers. Consider adding additional silencers if necessary.
Silencers Not Adhering Properly
If the silencers aren’t sticking, the surface may not have been clean enough. Try cleaning it again or using a stronger adhesive.
Difficulty in Closing the Door
If the door is hard to close, the silencers may be too thick or improperly placed. Adjust their position or consider a thinner model.
Alternative Methods for Reducing Door Noise
If door silencers alone don’t do the trick, there are other methods to further reduce door noise:
Installing Door Sweeps
Door sweeps can help block noise from under the door, complementing the effect of door silencers.
Using Soundproofing Foam
Applying soundproofing foam to the door can absorb more noise, especially in rooms where quiet is crucial.
Adding Weatherstripping
Weatherstripping around the door frame can also reduce noise by sealing gaps where sound might escape.
When to Consider Professional Installation
While installing door silencers is generally a DIY-friendly task, there are times when professional installation might be necessary:
Complex Door Setups
If your doors are unusually large, heavy, or have unique